开发工具:JDeveloper 11.1.1.5.0。
重要步骤如下:
(1)
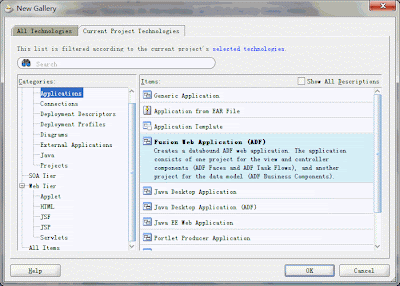
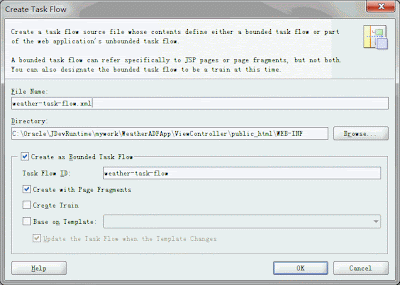
(2)创建一个taskflow
从本应用来看,实际不需要创建taskflow,可以直接创建页面,创建taskflow主要是考虑重用性。
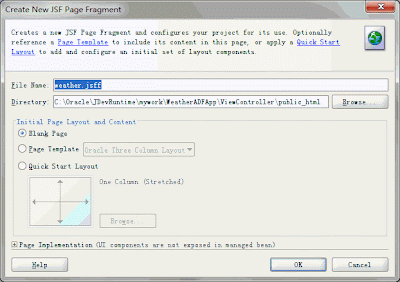
(3)创建一个page。
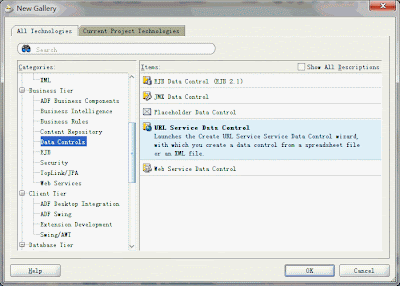
(4)在Model Project中,创建URL Service Data Control
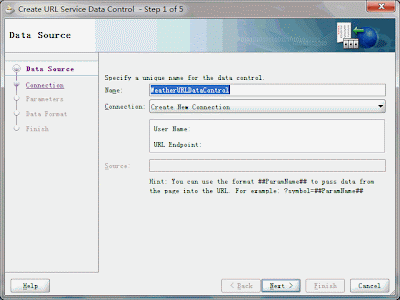
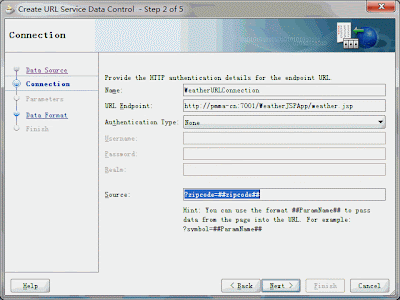
注意,这个URL是带参数的:zipcode。
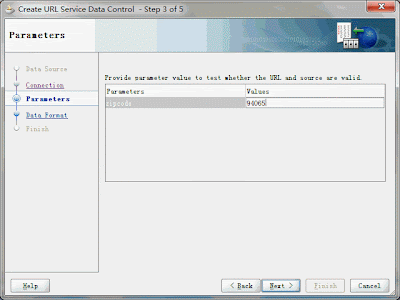
给zipcode一个初始值。
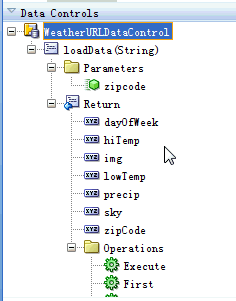
(5)如果一切顺利,应该能够生成WeatherDataControl如下:
注意,必须保证jsp返回的结果是CSV格式,第一行是列头的名字,第一行不能是空行,切记。
我前后修改了weather.jsp很多次,都是因为第一行是空行的原因导致无法成功生成Data Control,呵呵。
(6)为weather.jsff添加内容:
拖放Data Control中的Return节点,生成Read Only Table,调整设置如下:
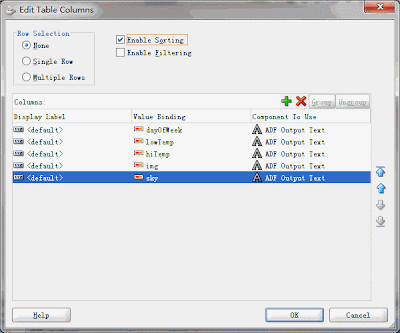
拖放Data Control中的zipcode参数节点,生成Select One Choice:
给初始值:
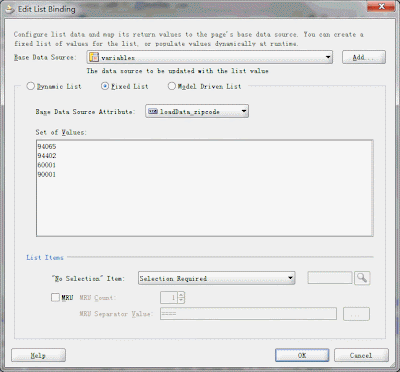
给一个静态的List,这里仅仅出于演示的需要,实际情况可以是动态的或Model Driven的。
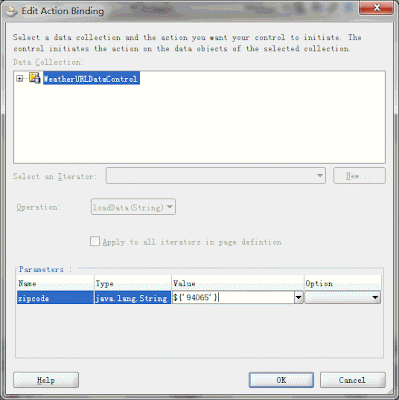
拖放Data Control中的loadData方法节点,生成Button。
然后设置Select One Choice的AutoSummit属性为true,并把Table的Partial Trigger属性指向Select One Choice的id。
此时,可以隐藏Button,因为改变zipcode后,会自动提交(不需要点击按钮),并刷新表格。
(7)如果将来需要修改URL Connection路径,可以改动connections.xml
URL Connection 路径保存在[application_name]\.adf\META-INF\connections.xml文件中:
如果有改动可以直接修改该文件。
<?xml version = '1.0' encoding = 'UTF-8'?>
<References xmlns="http://xmlns.oracle.com/adf/jndi">
<Reference name="WeatherURLConnection" className="oracle.adf.model.connection.url.HttpURLConnection" xmlns="">
<Factory className="oracle.adf.model.connection.url.URLConnectionFactory"/>
<RefAddresses>
<XmlRefAddr addrType="WeatherURLConnection">
<Contents>
<urlconnection name="WeatherURLConnection" url="http://pmma-cn:7001/WeatherJSPApp/weather.jsp"/>
</Contents>
</XmlRefAddr>
</RefAddresses>
</Reference>
</References>
(8)创建一个新page:weather.jspx,把weather-task-flow拖放到其中。
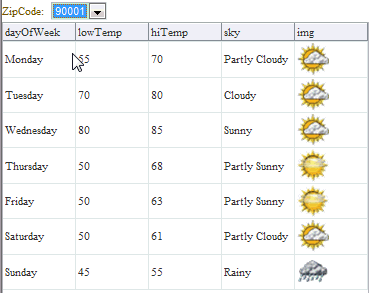
(9)在JDeveloper中的内嵌的WebLogic Server中,访问该应用:
(10)现在要Portletize该ADF应用,右键weather-task-flow,选择Create Portlet。
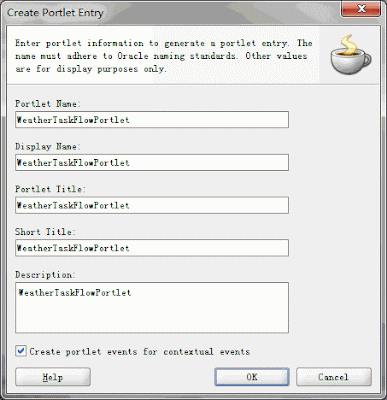
(11)发布该ADF Web应用到WC_CustomServicesProducer Server上。
创建Web WAR Deployment Profile的最简单的方法是:右键web.xml。然后Deploy。
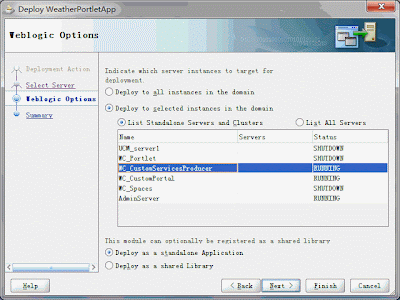
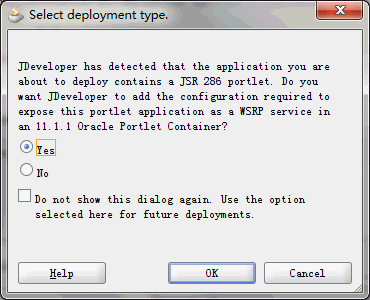
(12)访问http://pmma-cn:8893/WeatherADFApp/info
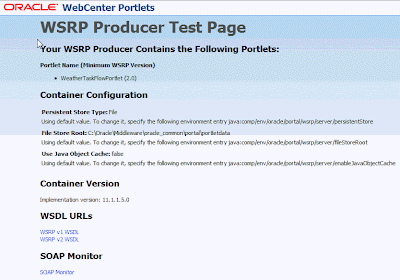
点击WSRP V2 WSDL,会得到该Portlet的WSDL:http://pmma-cn:8893/WeatherPortletApp/portlets/wsrp2?WSDL。
记住这个地址,后面会用到。
Project下载:WeatherADFApp.7z。
(未完待续)


没有评论:
发表评论